Please review the answers to some of our most Frequently Asked Questions. If you still haven't found your answer (or question), or need to send us a trouble ticket please visit our support pages at Support Home. Help is also available via email at support @ orangemailer.co, our live chat, or from the "Help" icon after logging in.
Unlike our competitors, Orange Mailer offers free help at every subscription level.
Getting Started
Orange Mailer has a dedicated **Print Stamps** feature that lets you generate First Class postage stamps.
Step-by-Step: How to Create Stamps
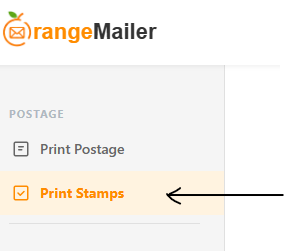
1. From the left menu, click **Print Stamps**.
2. At the middle of the page, you will see a dropdown with two options:
- **View First Class TEST stamps (free)** → Use this for testing
- **View First Class stamps** → Use this to generate real, paid stamps
3. Choose the option you need, then click one of the buttons below:
- **Show a single stamp for testing**
- **Show a single envelope stamp for testing**
- **Show a string of 5 stamps** (recommended for thermal label printers)
- **Show a sheet of 25 stamps** (for printing on regular paper)
4. The stamps will be generated and displayed so you can print them.
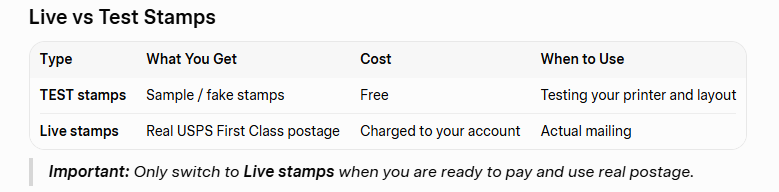
> **Important:** Only switch to **Live stamps** when you are ready to pay and use real postage.
Important Rules
By generating stamps you agree to the following:
- Each stamp may only be used **one time**.
- Reusing a stamp is considered mail fraud.
- **First Class postage is non-refundable.**
- You will be charged based on your current subscription plan when you generate live stamps.
- Generated stamps have a set value based on weight and are **not** “forever” stamps.
Tips
- Always start with **TEST stamps** to make sure your printer settings are correct.
- Use **“Show a string of 5 stamps”** if you have a thermal label printer.
- Use **“Show a sheet of 25 stamps”** if printing on regular paper with the SL1260-WUP template.
- Do a test print on plain paper before using real envelopes or label stock.
Need help with printer setup or stamp layout? Contact support and we’ll assist you.
---
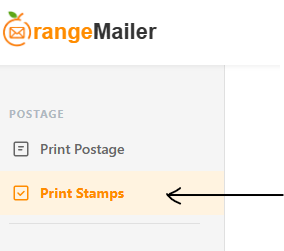
2. You will see several options:
- **Show a single stamp for testing**
- **Show a string of 5 stamps** (good for label printers)
- **Show a sheet of 25 stamps** (for the SL1260-WUP template)
- **Show a single envelope stamp for testing**
3. Select the option that fits your needs and click the corresponding button.

4. The stamps will be generated and displayed for printing.
### Important Information
**By generating stamps, you agree to the following:**
- Each stamp may only be used **one time**. Stamps are unique and tracked by USPS.
- Reusing a stamp is considered mail fraud. USPS may intercept and destroy the item.
- **First Class postage is non-refundable.**
- You will be charged the applicable rate based on your subscription level at the time you generate the stamps.
- Generated stamps have a set value based on weight and are **not** considered “forever” stamps.
### Tips
- Use the **single stamp** or **single envelope stamp** options when testing.
- For regular use, the **string of 5** or **sheet of 25** options are more efficient.
- Always make sure your printer settings match the stamp layout you selected.
Need help with printing setup or have questions about stamp usage? Contact support and we’ll assist you.
---
Adding funds is easy!
After logging in to Orange Mailer...
- Click the "Add Funds" link on the top right navigation.

2. When you click on "Add Funds" you will see a drop down menu where you choose if you want to pay with Credit/Debit card / prepaid gift cards / Apple pay / PayPal / Bitcoin
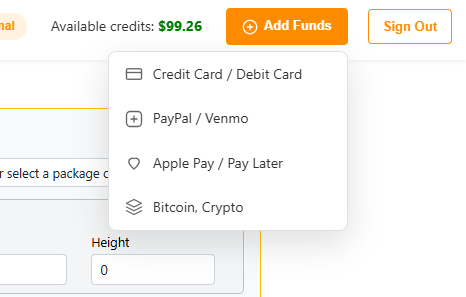
3. Pick your choice, if you want to pay with PayPal then click PayPal and follow their instructions. If you pick Credit/Debit then you will see the following window pop up.
Enter name / address info, how much you want to add, Credit card info. Once you have entered all information the "click to purchase $25.00" will appear in the yellow bar.
Click the button and your purchase is complete.
4. If you have a card on file with us then you only have to enter the amount in the top part and click blue button "charge this card"
5. WAHLAA!!
After adding funds you might need to refresh the page before the balance is showing in your account.
How do I print postage online?
Printing USPS postage with Orange Mailer is simple and fast.
Quick Navigation Tip
After logging in, you can always return to the main postage page by clicking the **Orange Mailer logo** in the top left corner.
Step-by-Step Instructions
1. **Enter the "Ship To" address**
- Type part of the recipient’s last name or company name in the **To Last Name** field.
- Press the **Tab** key on your keyboard.
- A dropdown of matching addresses will appear. Click the correct one to auto-fill the form.
2. **Enter the "Ship From" address**
- This section is usually pre-filled with your saved address.
- Edit it if needed.
3. **Enter shipment details**
- Enter the package dimensions and weight, **or**
- Select a preset option from the dropdown.
4. **View available rates**
- Click the **View Available Rates** button.
- A list of shipping options and prices will appear.
5. **Select your rate and create the label**
- Choose the rate you want.
- The red **Create Postage Label** button will appear.
- Click it to purchase and generate your label instantly.
- Your account will be charged at that moment.
6. **Print your label**
- Once generated, a popup window will appear with your label.
- Follow the instructions in the popup to print.
### Reprinting a Label
If you need to reprint a label later, go to the **History** page (in the left navigation) and reprint from there.
---
After you register and sign in to your new Orange Mailer account, there are **two important steps** you should complete so you can access all features (including batch printing).
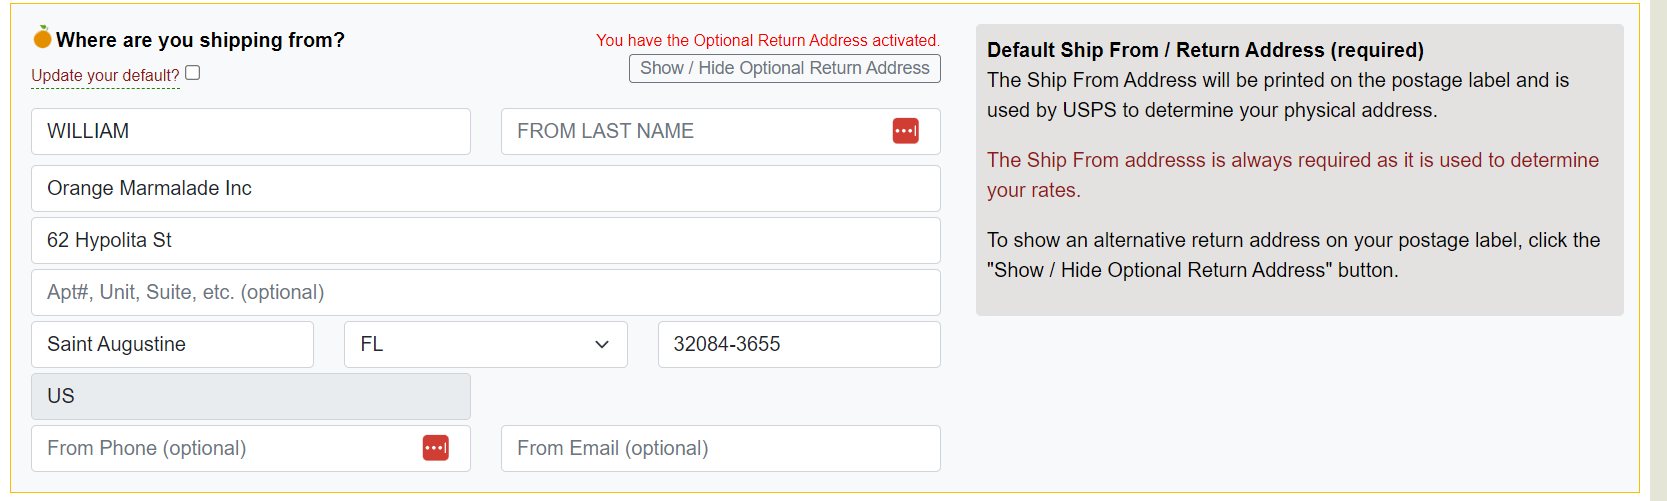
1. Add Your Ship From Address
USPS requires a real physical address as your Ship From address. A P.O. Box or UPS Store address is **not** accepted.
**How to add it:**
1. Go to the **Get Started** page.
2. Enter your **Ship From** address, phone number, and email.
3. Check the box next to **“Update your default”**.
4. Click the green **“Show available rates”** button.
Your Ship From address is now saved. You can update it anytime by repeating these steps.
2. Update Your Admin / Default Settings
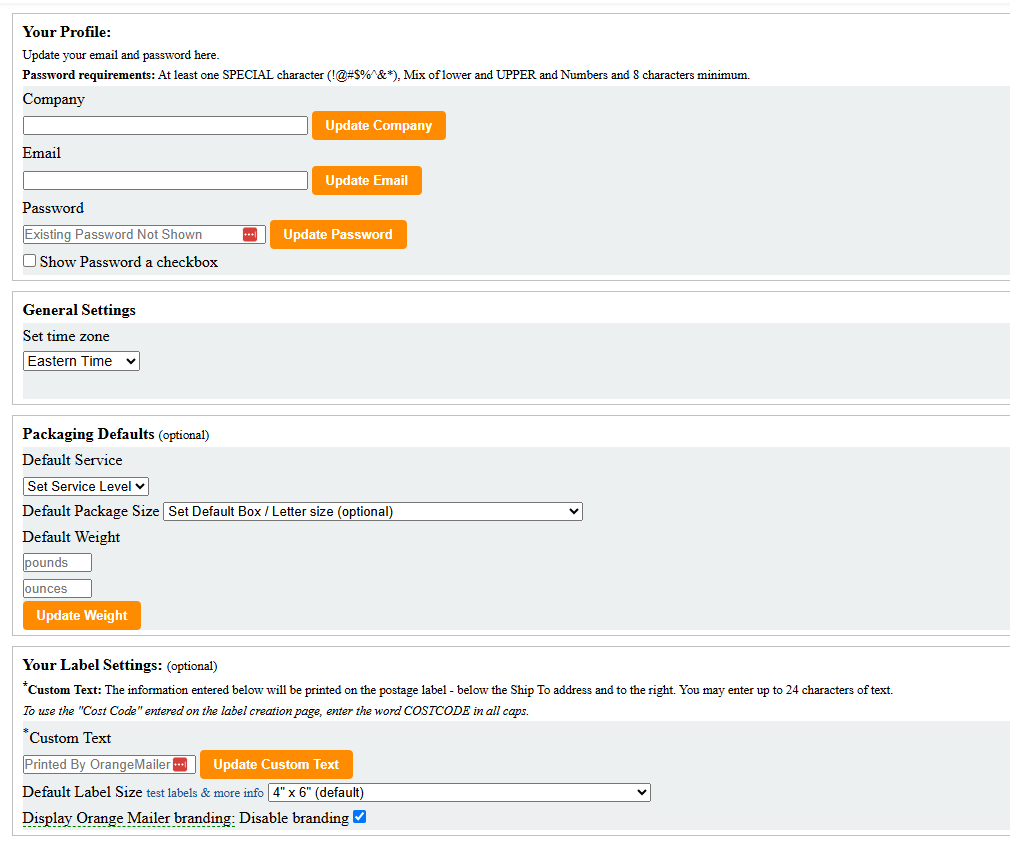
1. Click the **Settings** tab (in the left menu).
2. Complete the following sections:
- **Time Zone** — Make sure it is set correctly.
- **Packaging Default** — Choose your most common service, package type, and weight. This will automatically pre-fill these fields when creating labels (very useful if you mostly ship First Class or use the same box size).
- **Label Settings** — Add or edit the custom text line that appears on your labels, and select your default label size.
- **Email** — Confirm that the email address on your profile is correct.
Once these steps are completed, your account will be fully set up and ready to use all features.
Yes - Orange Mailer can ship to any military address.
Orange Mailer can not be used to ship FROM an APO/FPO/etc.
Follow the image below for a general guideline. For more specific info - check the USPS link.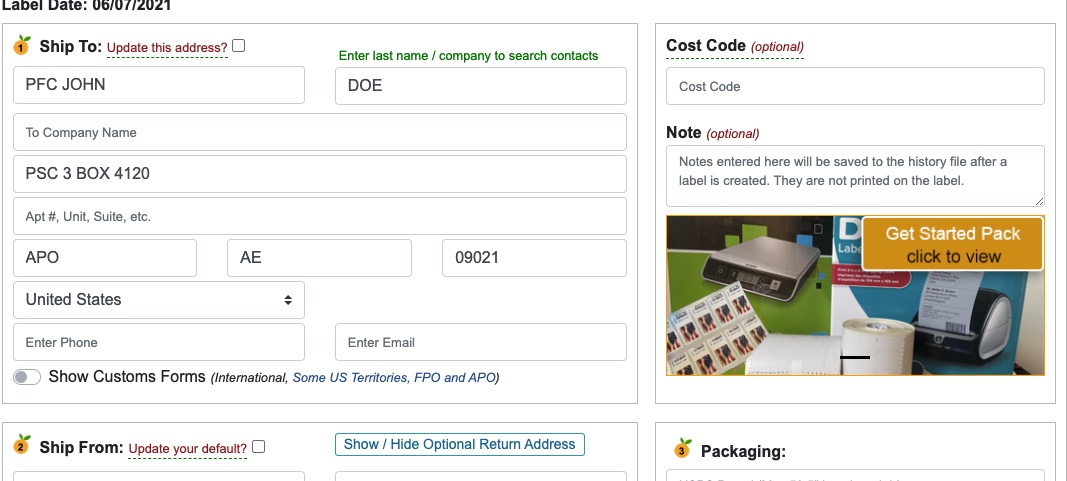
USPS details: https://www.usps.com/ship/apo-fpo-dpo.htm